It’s been a busy few months since our last update on the Fairfield Model Project, which began last summer with a grant from Harry and Judy Wason. We started documenting the southern wall of the manor ruins at Fairfield in August (read about it here) and have since made amazing progress in our development of an interactive 3D model of Fairfield Plantation.
We started by flying the drone over the project area to create a 3D model of the ground surface through detailed photography. Then we excavated Layer A, re-excavated the portions of the project area that we filled in several years ago, and flew the drone over again to capture a second set of images. Using a program called Agisoft PhotoScan we uploaded the pictures we took in the field, pushed a few buttons, and generated two 3D models of the project area, one of the top layer and one of the bottom.
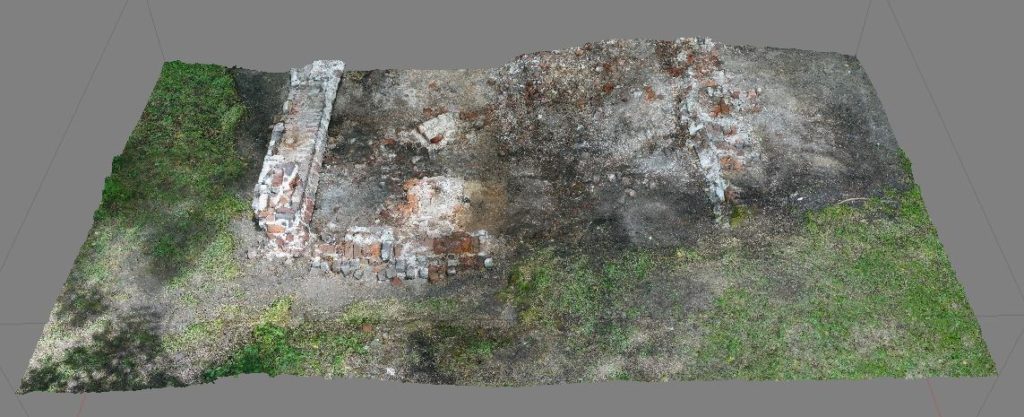 The first 3D model we made of our prototype project area.
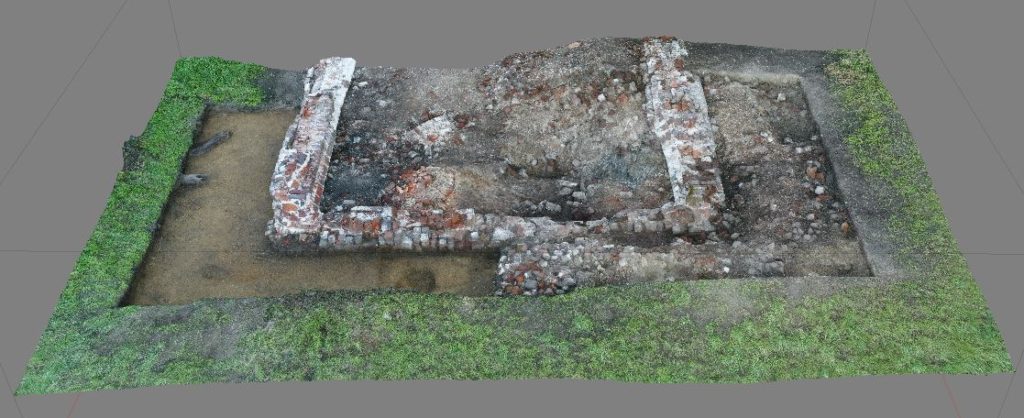 Our 3D model after excavating Layer A on the right and un-backfilling the area on the left.
The results were very exciting, but this was just the first step in a long journey toward an interactive model. We’ll spare you from the boring technical details (if you’d like them, email ashley@fairfieldfoundation.org), but essentially our goal was to take the flat digital models you see above, give them a solid base, split the top model into test units, and subtract the bottom from the top so they fit together like Legos. We also had to recreate the layers on the west half of the project area digitally, as we excavated that area long before we had this technology. Finally, after a lot of time, patience, and tedious editing, we successfully created a digital 3D model of a part of Fairfield that can be “excavated” layer by layer.
Click play to see our model in action! You can now digitally “excavate” Layer A.
Click play to excavate the site!
So how do we take these digital models and turn them into something physical? For this task, we used our trusty MakerBot 3D printer, which uses digital models as a blueprint to build objects out of plastic. We started with the base model, then printed each layer of each test unit. Thirty pieces later, we have the first installment of our archaeological model!
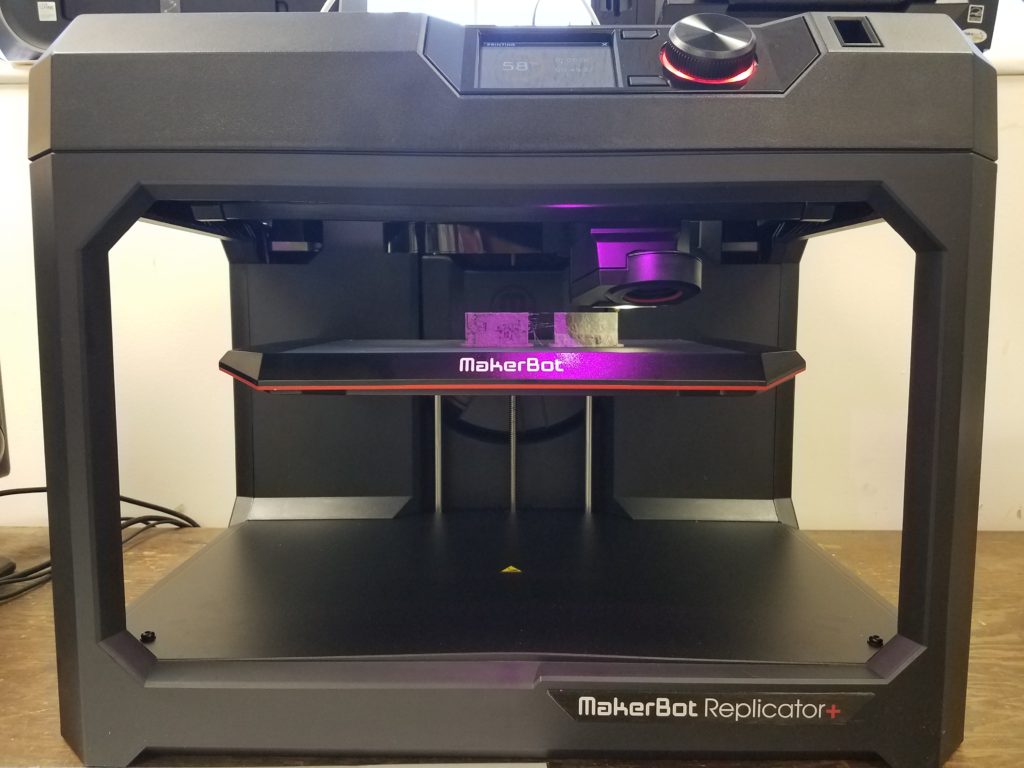 Our MakerBot 3D printer hard at work!
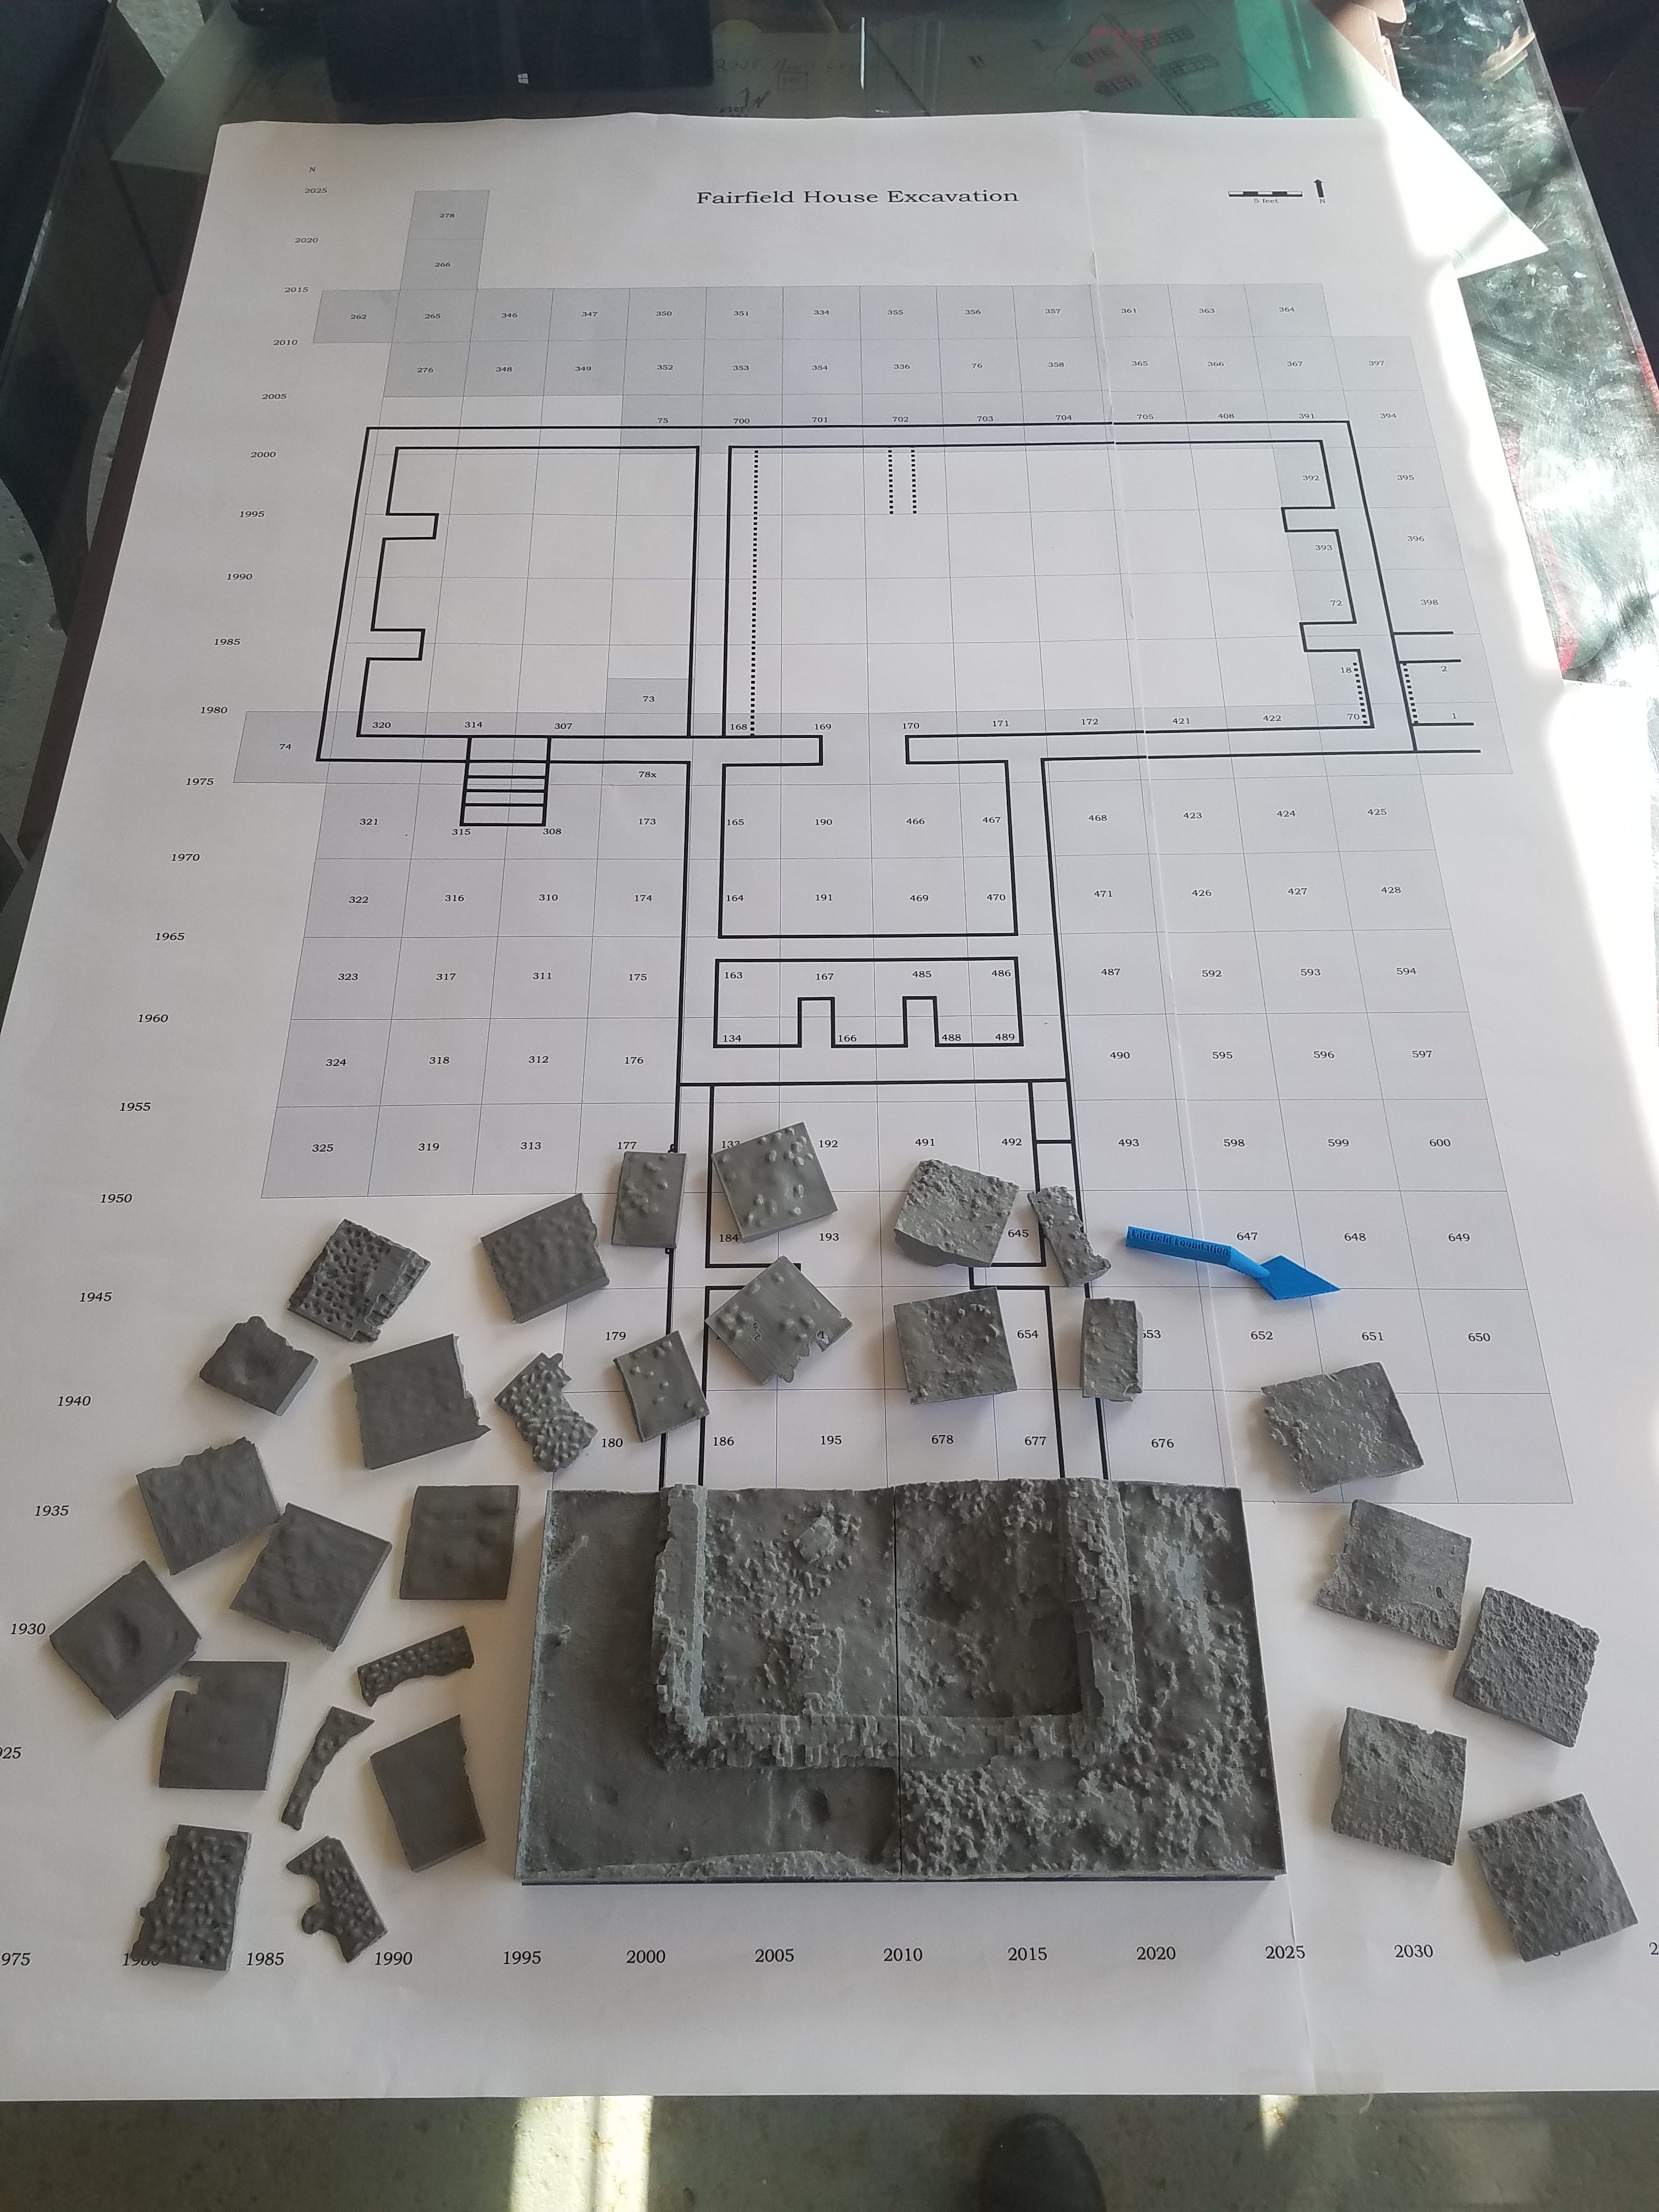 The first installment of our 3D model! Each of these pieces represents a real test unit layer excavated in the field. They all fit together in the base model and can be “excavated” to uncover archaeological features.
Kids, adults, volunteers and archaeologists have all enjoyed taking the model apart and putting it back together, and its value as an educational tool has become increasingly apparent since we unveiled it. As people take it apart they ask questions about the soil layers, the foundation, the house, and the history of the site. They learn about the science of archaeology and experience the thrill of discovery as they uncover the foundation.
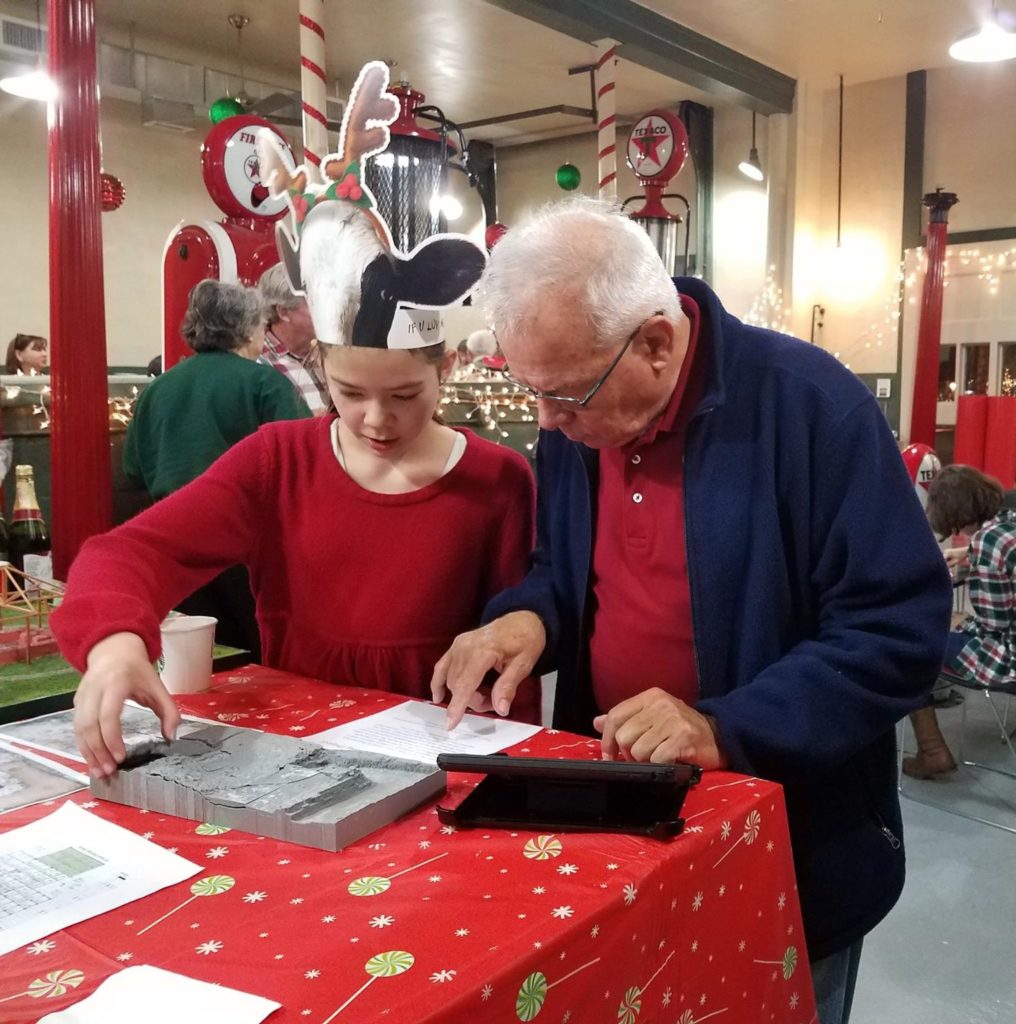 We officially unveiled the model prototype at our volunteer holiday party in December.
Though completing this part of the prototype is a huge step forward, there is still a lot of work left to do. The next step is painting the model to make it look more realistic, then digitally reconstructing the south gable of the house on top of the foundation. Then, of course, we have to repeat the process for the rest of the house and surrounding landscape. Stay tuned for future updates on the model project by subscribing to our blog! And be sure to check out some of our interactive models at www.sketchfab.com/fairfieldfoundation.

Fascinating !
Fantastic work Ashley!!!
Awesome work!